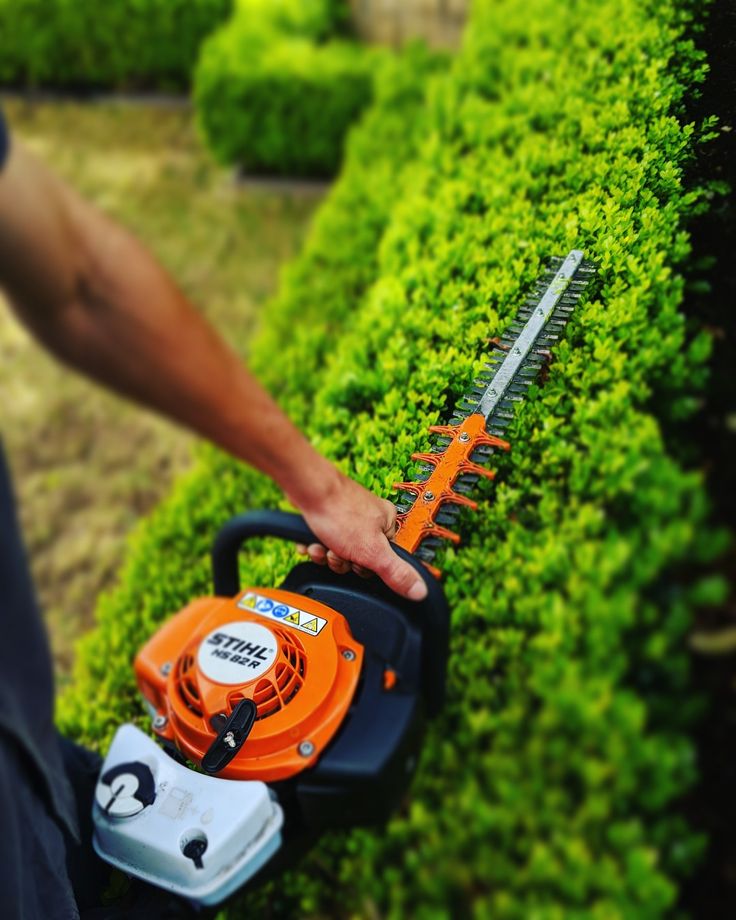
Sharp hedge trimmer blades are the secret to clean cuts, healthy hedges, and a less strenuous trimming experience. Dull blades tear and bruise plant tissue, making your hedges susceptible to disease and requiring more effort from both you and your trimmer’s motor. While professional sharpening is an option, you can easily sharpen your hedge trimmer blades at home with a few basic tools and a bit of patience. This guide will walk you through the process, ensuring your blades are ready to tackle any hedge with precision.
Safety First: Preparation is Key
Before you begin any sharpening or maintenance, safety must be your absolute priority. hedge trimmers blades are extremely sharp, even when dull, and can cause serious injury.
- Disconnect Power: For electric trimmers, unplug the tool from the power source. For gasoline-powered trimmers, disconnect the spark plug wire to prevent any accidental starting.
- Wear Protective Gear: Always wear heavy-duty work gloves to protect your hands from the sharp edges. Safety glasses are also essential to shield your eyes from metal shavings or debris.
- Secure the Trimmer: Place the hedge trimmer on a stable, flat surface. If possible, use a vise or clamps to secure the blades, preventing them from moving while you work.
Tools You’ll Need
Gathering the right tools before you start will make the sharpening process much smoother:
- Stiff Brush or Scraper: For removing large debris.
- Blade Cleaner/Degreaser: To remove sap and resin. Mineral spirits or a strong dish soap solution can also work.
- Clean Cloths: For wiping and drying.
- Flat File: A fine-toothed flat file (8-10 inches long) is the most common tool for manual sharpening.
- Sharpening Stone (Optional): A fine-grit sharpening stone can be used to remove burrs and refine the edge.
- Wire Brush (Optional): For cleaning the blades before sharpening.
- Lubricating Oil: Light machine oil, silicone spray, or a dedicated blade lubricant.
Step-by-Step Sharpening Process
Follow these steps carefully to achieve a sharp, effective edge:
Step 1: Clean the Blades Thoroughly
Before sharpening, the blades must be spotless. Sap, resin, and dirt can obscure the true edge and make sharpening difficult.
- Scrape Off Debris: Use a stiff brush or a piece of wood to remove any large chunks of leaves, twigs, or caked-on mud.
- Apply Cleaner: Spray or wipe the blades with a blade cleaner or degreaser. Let it sit for a few minutes to dissolve stubborn sap.
- Wipe Clean: Use a clean cloth to wipe down the blades, ensuring all residue is removed. A wire brush can help with heavily encrusted areas.
- Dry Completely: Crucially, dry the blades thoroughly to prevent rust. You can use a dry cloth or allow them to air dry in a warm, dry place.
Step 2: Identify the Bevel Angle
Most hedge trimmer blades have a single bevel (an angled edge) on one side of each tooth. It’s vital to maintain this original angle when sharpening. Look closely at the existing edge to determine its angle.
Step 3: Sharpening with a Flat File
This is the most common method for home sharpening.
- Position the File: Place the file flat against the bevel of one cutting tooth, matching the original angle.
- File in One Direction: Using firm, even pressure, push the file across the cutting edge, moving away from your body. Always file in one direction only (the “push” stroke), lifting the file on the return stroke. Filing back and forth can dull the edge.
- Count Strokes: Use a consistent number of strokes (e.g., 5-10) for each tooth to ensure even sharpening.
- Work Along the Blade: Move systematically along the blade, sharpening each cutting tooth. If your trimmer has double-sided blades, repeat the process on the other side of the blade.
- Check for Burrs: As you sharpen one side, you’ll likely create a small metal burr (a raised edge) on the opposite side of the blade.
Step 4: Remove Burrs (Optional, but Recommended)
Removing burrs creates a cleaner, sharper edge.
- Use a Sharpening Stone: Gently run a fine-grit sharpening stone or even fine-grit sandpaper along the flat, un-beveled side of the blade where the burrs have formed. Use light pressure to simply “knock off” the burrs.
Step 5: Lubricate the Blades
After sharpening, lubrication is essential for smooth operation and rust prevention.
- Apply Oil: Apply a thin, even coat of lubricating oil along the entire length of both sides of the blades, paying special attention to the cutting edges and the pivot points where the blades move against each other.
- Run Briefly (Electric/Gas): For electric or gas trimmers, briefly run the trimmer for a few seconds (ensuring no one is nearby and it’s safe to do so) to distribute the lubricant evenly.
By following these steps, you can effectively sharpen your hedge trimmer blades at home, ensuring your tool performs at its best and keeps your hedges looking pristine. Regular sharpening will extend the life of your trimmer and make your gardening tasks much more efficient and enjoyable.


